
Silicone sealant is an excellent tool that all home improvement fanatic should keep in their arsenal. Regardless of whether you are dealing with a tiny repair or starting a bigger project, this versatile material offers a wide array of applications that can help the utility and aesthetics of your environment.
Including sealing gaps in window frames and doorways to making waterproof bathroom areas and kitchen spaces, silicone sealant provides a reliable solution that guarantees durability and longevity. Its adaptability, moisture resistance, and adhesive properties make it ideal for different surfaces, making it an essential item for anyone looking to enhance or preserve their house. Let's discuss some of the best uses of silicone sealant that may boost your home improvement tasks.
Types of Silicone Sealants
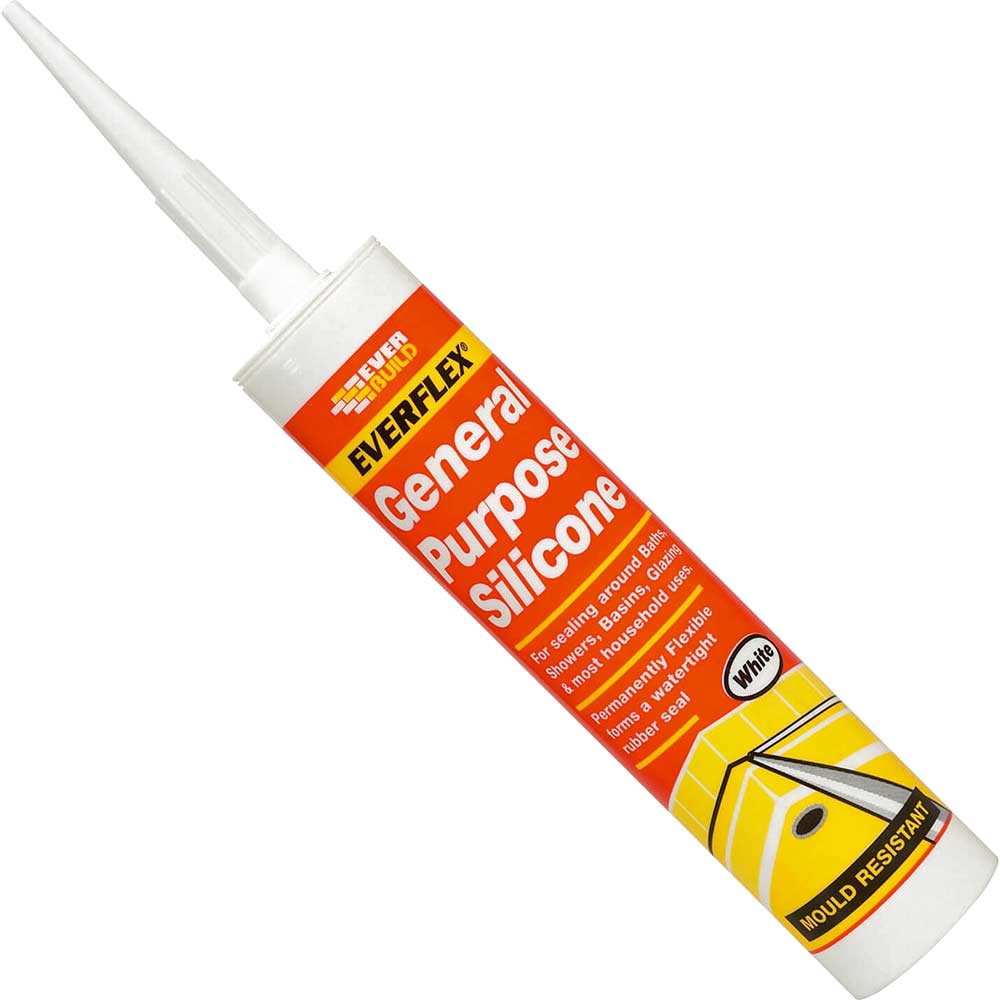
Sealants made of silicone come in various types, each designed to suit specific applications and conditions. One of the most common types is the general-purpose silicone sealant, which is versatile and suitable for a varied outdoor and indoor projects. This type offers good adhesion to various surfaces, such as wood, metal, glass, and plastics, making it perfect for closing gaps around windows, doors, and vents.
Another significant type, is the high-temperature silicone sealant. This type is tailored to withstand extreme heat and is commonly used in automotive, industrial, and plumbing applications. It's perfect for closing off areas around ovens, fireplaces, or exhaust systems, where traditional sealants might not perform due to extreme heat. Its ability to retain flexibility and adhesion under heat makes it a reliable choice for these demanding conditions.
For particular scenarios, there are also mildew-resistant silicone sealants. These are formulated to prevent mold and mildew growth, making them particularly beneficial in wet areas such as bathrooms and kitchens. Their durability against moisture, along with their ability to staining and odor, ensures a long-lasting seal in areas susceptible to water exposure. This kind is crucial for ensuring that seals around sinks, tubs, and showers remain clean and effective over time.
Advantages of Utilizing Silicone Sealant
This sealant sealant is highly valued for its remarkable adaptability, allowing it to handle changes in architectural components without cracking or compromising adhesion. This quality makes it perfect for spaces that undergo swelling and shrinking due to temperature fluctuations. Home improvement enthusiasts cherish this aspect as it guarantees long-lasting applications in diverse settings, from washrooms to culinary spaces.
A different notable benefit of silicone sealant is its tolerance to moisture and mold growth. Differently from other types of adhesives, silicone does not absorb water, making it a reliable choice for securing areas exposed to excess moisture or constant water contact. This attribute not only increases the longevity of the sealant but also leads to better indoor air quality by preventing the growth of fungus and mold spores, which can be dangerous to well-being.
In addition, silicone sealant is easy to apply and can be utilized on a wide range of materials, including glassy surfaces, metal, and plastic. fugenschmiede.de makes it a popular option among do-it-yourselfers and professionals alike. With the correct tools, anyone can achieve a tidy, polished finish, making silicone sealant an essential addition to all renovation collection.
Application Tips for Best Results
While applying silicone sealant, preparing the surface is important for achieving a strong, enduring bond. Make sure that the surface is clear, not wet, and free of dust, grease, or old sealant. Consider use a compatible cleaner or solvent to remove any residues that may hinder with adhesion. If you're sealing gaps around glass panes or entrances, ensure to check the area for any damaged material that may need fixing before sealing.
For best results, utilize a caulking gun to apply silicone sealant evenly. Cut the tip of the sealant tube at a diagonal angle, which allows for improved precision during application. Start at a end of the gap and move steadily to the opposing end, guaranteeing a smooth bead of sealant. Refrain from stopping or starting in the middle of the application to prevent inconsistencies or uneven coverage.
In conclusion, once applied, level the sealant with a wet finger or a professional tool to achieve a tidy, professional appearance. This not only improves the look of the seal but also ensures to make sure that the sealant is properly pressed into the joint. Allow the silicone sealant to set as per the manufacturer's instructions before exposing it to water or stress, ensuring peak performance for all your home improvement needs.